
So you bought an RV, and life on the open road has never looked better. But before you hit cruise control and chase another sunset, let’s talk about something a little less glamorous but absolutely essential: your RV roof. Because nothing kills a road trip vibe like an unexpected interior waterfall.
Why RV Roof Maintenance Matters
Your RV roof is your first line of defense against rain, sun, snow, bird droppings, and the occasional low-hanging branch. Regular maintenance helps you avoid leaks, mold, and expensive repairs down the line. It also prolongs the life of your rig and keeps you camping in comfort.
Know Your Roof: Common RV Roofing Materials
- EPDM Rubber: Flexible and durable, but prone to chalking and needs regular UV protection.
- TPO (Thermoplastic Olefin): White and reflective, good for warm climates, but can crack over time.
- Fiberglass: Tough and durable, but can be heavy and slippery when wet.
- Aluminum: Virtually maintenance-free, but seams can be a weak spot.
Step-by-Step RV Roof Maintenance
Step 1: Safety First
- Always use a stable ladder.
- Walk carefully or use roof planks to distribute weight.
- Wear non-slip shoes.
- Avoid working in wet or windy conditions.
Step 2: Inspection
- Look for cracks, tears, or soft spots.
- Check all seams and around vents, AC units, and skylights.
- Don’t forget to inspect under any covers or solar panels.
Step 3: Cleaning
- Use a gentle RV roof cleaner (check that it’s compatible with your roof type).
- Soft-bristle brush recommended; no pressure washers!
- Rinse thoroughly.
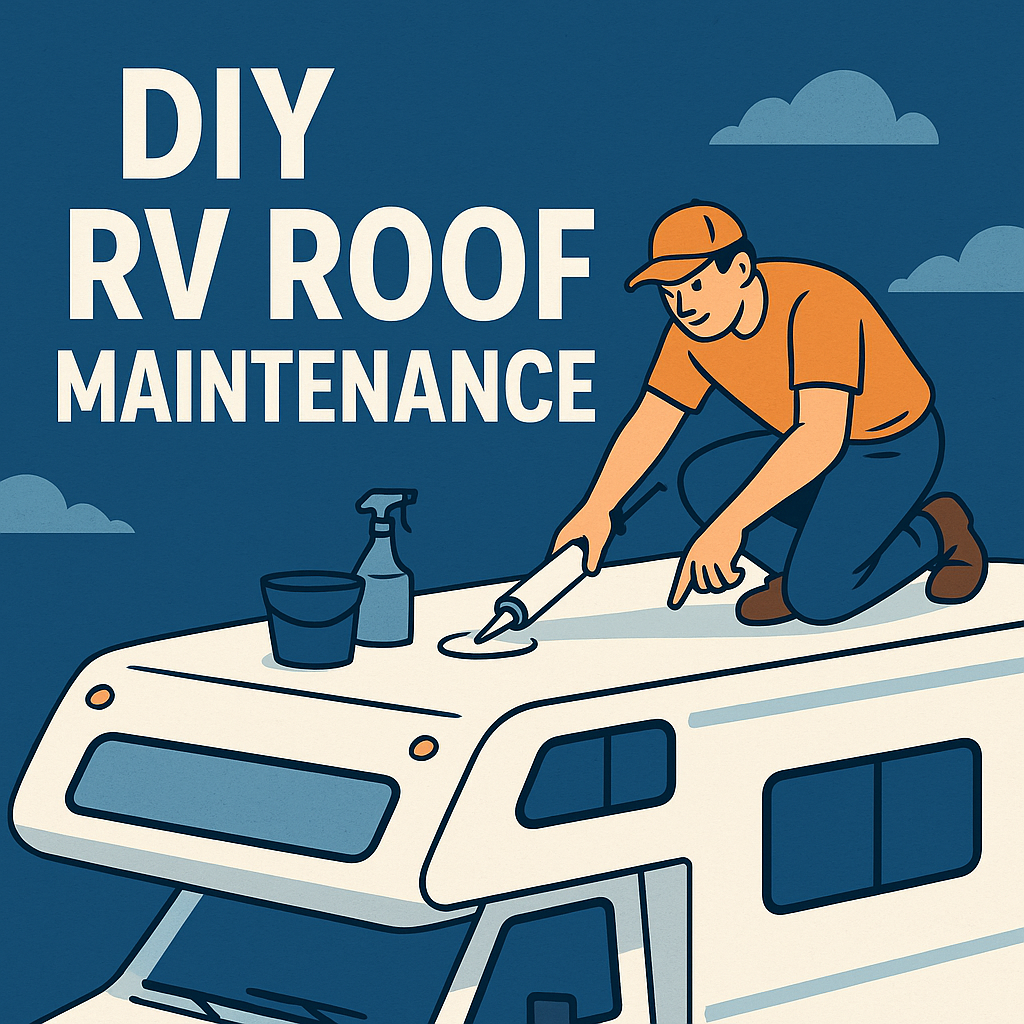
Step 4: Repair
- Patch small tears with roof repair tape.
- Use compatible sealant for cracks or seam touch-ups.
- For EPDM and TPO, use specific adhesives and sealants labeled for those materials.
Step 5: Preventive Coating
- Apply UV protectant or rubber roof treatment annually.
- Fiberglass roofs can benefit from a good wax job.
Recommended Tools and Products
- Soft-bristle brush
- RV roof cleaner
- Roof repair tape
- Self-leveling lap sealant
- UV protectant
- Safety gear (gloves, goggles, ladder stabilizer)
Pro Tips
- Schedule roof checks every 3-6 months.
- After every big storm or long trip, give your roof a once-over.
- Keep a roof log to track inspections and repairs (bonus: it impresses warranty companies).
Think of roof maintenance like flossing. You know you should do it regularly, it feels tedious, but when you skip it, you end up in pain and paying a professional way more than you’d like. Except instead of a cavity, it’s a soggy mattress. Taking care of your RV roof isn’t rocket science. With a little elbow grease and routine care, you can keep your home-on-wheels watertight and road-trip ready. Protect your investment and avoid costly surprises down the road. Click here to get a free quote on an RV warranty today – because even the best DIYers deserve backup!